Commons:OpenRefine/Uploading files with OpenRefine
| About | How to: upload files | How to: edit files | Advanced tips and tricks | Training | Projects |
Step by step instructions on how to (batch) upload Wikimedia Commons files with OpenRefine.
Software installation[edit]
Download and install OpenRefine (version 3.7 or later!)[edit]
⚠️ For batch uploading to Wikimedia Commons, you need OpenRefine 3.7 or newer. Wikimedia Commons is not supported in OpenRefine 3.6 or earlier versions.
Download and install OpenRefine on your computer. To batch upload files to Wikimedia Commons, you need OpenRefine 3.7 or newer.
You can download OpenRefine for Windows, MacOS and Linux from https://openrefine.org/download.html.
There are detailed download instructions and installation instructions in OpenRefine's user manual.
Optional: download and install the Wikimedia Commons extension for OpenRefine[edit]
Additionally, it is convenient to also install OpenRefine's Wikimedia Commons extension. The extension offers:
- A start screen to load file names directly from Wikimedia Commons categories.
- Thumbnails of Wikimedia Commons files (not all file formats supported yet).
- Several dedicated GREL expressions to retrieve data from wikitext for further processing.

The extension is not strictly needed for uploading files to Wikimedia Commons, but the display of thumbnails may be convenient. The extension, however, is very helpful for Wikimedia Commons batch editing.
The extension can be downloaded from GitHub, where you can also follow installation instructions.
Running OpenRefine online, in the cloud (via Wikimedia PAWS)[edit]
If you are unable to install OpenRefine on your computer, or if it runs very slowly, then you can also use it in the cloud (on wmcloud.org through PAWS). Everyone with a Wikimedia account can access OpenRefine here. Visit https://hub-paws.wmcloud.org/, log in, and click on the OpenRefine (blue diamond) logo.
The Wikimedia Commons extension (mentioned above) is installed in OpenRefine on PAWS.
Please note: with OpenRefine on PAWS it is NOT possible to upload files to Wikimedia Commons from your local computer but you have the following two options:

- Upload your local files to your PAWS directory (there is 3 GB diskspace available):
- Open the file browser tab in PAWS
- Create a new directory for your files
- Upload your files to PAWS
- In OpenRefine prepare a column with the local file path in paws. the base path of your PAWS home directory is /home/paws/ add then your own directory path structure and the filename so that you have a loca path like /home/paws/my_upload_directory/fileName.jpg
- Upload files via an allowed URL MediaWiki:Copyupload-allowed-domains or whitelist your URL.
Preparing your upload in general. Avoid deletion![edit]
Good preparations are key! Make sure to collect all necessary information for your files before you start uploading. If you upload files without such proper preparations, they will be speedily deleted and, if you fail to follow up, your Wikimedia account may even be blocked.
Prepare all necessary data beforehand - especially source and copyright/license evidence[edit]
⚠️ Files on Wikimedia Commons MUST have the following data immediately after being uploaded. If this data is not present, your files will be immediately deleted. Prepare accordingly!
- Every file MUST have wikitext
- Every file MUST have at least one Commons category
- Every file MUST display a description, a date, and a creator
- And most importantly: every file MUST display a verifiable and plausible source, and verifiable and plausible/correct copyright/license information. Make sure you are familiar with the Wikimedia Commons official policy about copyright and licensing
As uploader, it is your responsibility to make sure all this information is present.
⚠️ Special attention needed: when you upload files that have not been online before, and that are not made by yourself (i.e. you are not the copyright holder), you must make sure that evidence is provided that the copyright holder explicitly agrees to release the files under a Wikimedia Commons-compatible license. For this purpose, you must make sure that the copyright holder sends an email via the process outlined here. This can be the case when, for instance, you have received files from a local cultural organization or from a photographer.
If you have more questions about the scope and content of your upload, make sure to check the complete overview of Wikimedia Commons policies and guidelines.
Below, we will explain how this data can be practically and correctly prepared for uploading via OpenRefine.
Keep an eye on, and respond to, messages on your talk page[edit]
Make sure to keep an eye on your Wikimedia Commons talk page for several weeks after you have uploaded files. The Wikimedia Commons community may have questions and feedback for you. Always respond to this feedback. Make sure you receive e-mail notifications when someone posts on your talk page, by adjusting your user settings.
Uploading files from URLs on the web? Check and make sure the domain name is allowed on Wikimedia Commons[edit]
To avoid spam uploads, Wikimedia Commons has a protection mechanism that only allows files from certain domain names (and not from any website!) to be uploaded to Wikimedia Commons. This so-called allowlist is quite long. It includes trusted websites that host a lot of freely licensed files, like the Internet Archive, Flickr, iNaturalist, and many websites of cultural institutions with open access policies.

If you plan to upload files from a URL on the web:
- Check if "your" domain name is included in the allowlist; otherwise it won't be possible to upload your files directly from URL. You can find the list of allowed domains here.
- If your domain name is not listed there yet: from this page you can initiate a request to add your domain name to the allowlist.
This process is maintained by volunteers, and so it may take a few days to weeks before your request is acted upon. Plan accordingly!
Preparing your data for upload[edit]
In more detail: which data do you need to prepare for your upload? The section below provides you with a checklist.


Data for a complete upload: overview[edit]
In OpenRefine you will need to have the following data ready. Each element is explained in more detail below.
- The local file path or the URL of the files you want to upload
- A file name for the file, as you want it to appear on Wikimedia Commons
- One or more columns with structured data
- And the wikitext for each file, including information, license and at least one Commons category
- ❓ Should I always start from a spreadsheet?
It depends! In general it is indeed convenient to prepare your data in a spreadsheet first. But you can also start uploading files to OpenRefine from another dataset or API that already has a lot of data about your files. If your files are simple and all very similar, you can also start from just a list of files, and add the data inside OpenRefine as you go. Just make sure that you include all the mandatory data when uploading!
Tip: Look at other files on Wikimedia Commons (their Wikitext and structured data) for inspiration.
File path or URL[edit]
Make sure to provide OpenRefine with a column of file paths or URLs.
I want to upload files from my own computer / local drive[edit]
There is no button in OpenRefine (yet) with which you can open and select a list of files from your computer, so you will have to give this list to OpenRefine manually. Here’s how to do it.
You will need to locate the files in the Finder / File explorer on your local computer, and copy their absolute file paths.
- On Windows, absolute file paths look like this:
C:\Documents\Foldername\Otherfoldername\filename.pdf- You can retrieve the file path in Windows by clicking on the address bar in the Windows file explorer and copying the whole text via right-click + Copy or the “ctrl + v” shortcut. The path should start with
C:\or a similar drive name.
- You can retrieve the file path in Windows by clicking on the address bar in the Windows file explorer and copying the whole text via right-click + Copy or the “ctrl + v” shortcut. The path should start with
- On a Mac, absolute file paths look like this:
/Users/yourusername/Foldername/Otherfoldername/filename.jpg- You can copy the path of a file (or of a list of files) by looking it/them up in the Finder, selecting it/them, then right-clicking and then pressing the alt/option key. You will see some changes in the contextual menu, and one of the options will be ‘Copy nnn as pathname(s)’. Pick that option; the path(s) will now be on your clipboard and you can paste it/them in a file or directly in OpenRefine (start project from Clipboard). See instructions here (note that you can also do it for a whole list or set of selected files at once).
- On Linux, absolute file paths look like this:
/home/yourusername/Foldername/Otherfoldername/filename.ogg
I want to upload files from URLs on the web[edit]
- First make sure that the domain name is included in the Wikimedia Commons allowlist. See instructions above!
- Then obtain the list of the URLs for the files you want to upload.
- These need to be the URLs of the files themselves - not the URLs of the web pages that contain them!
-
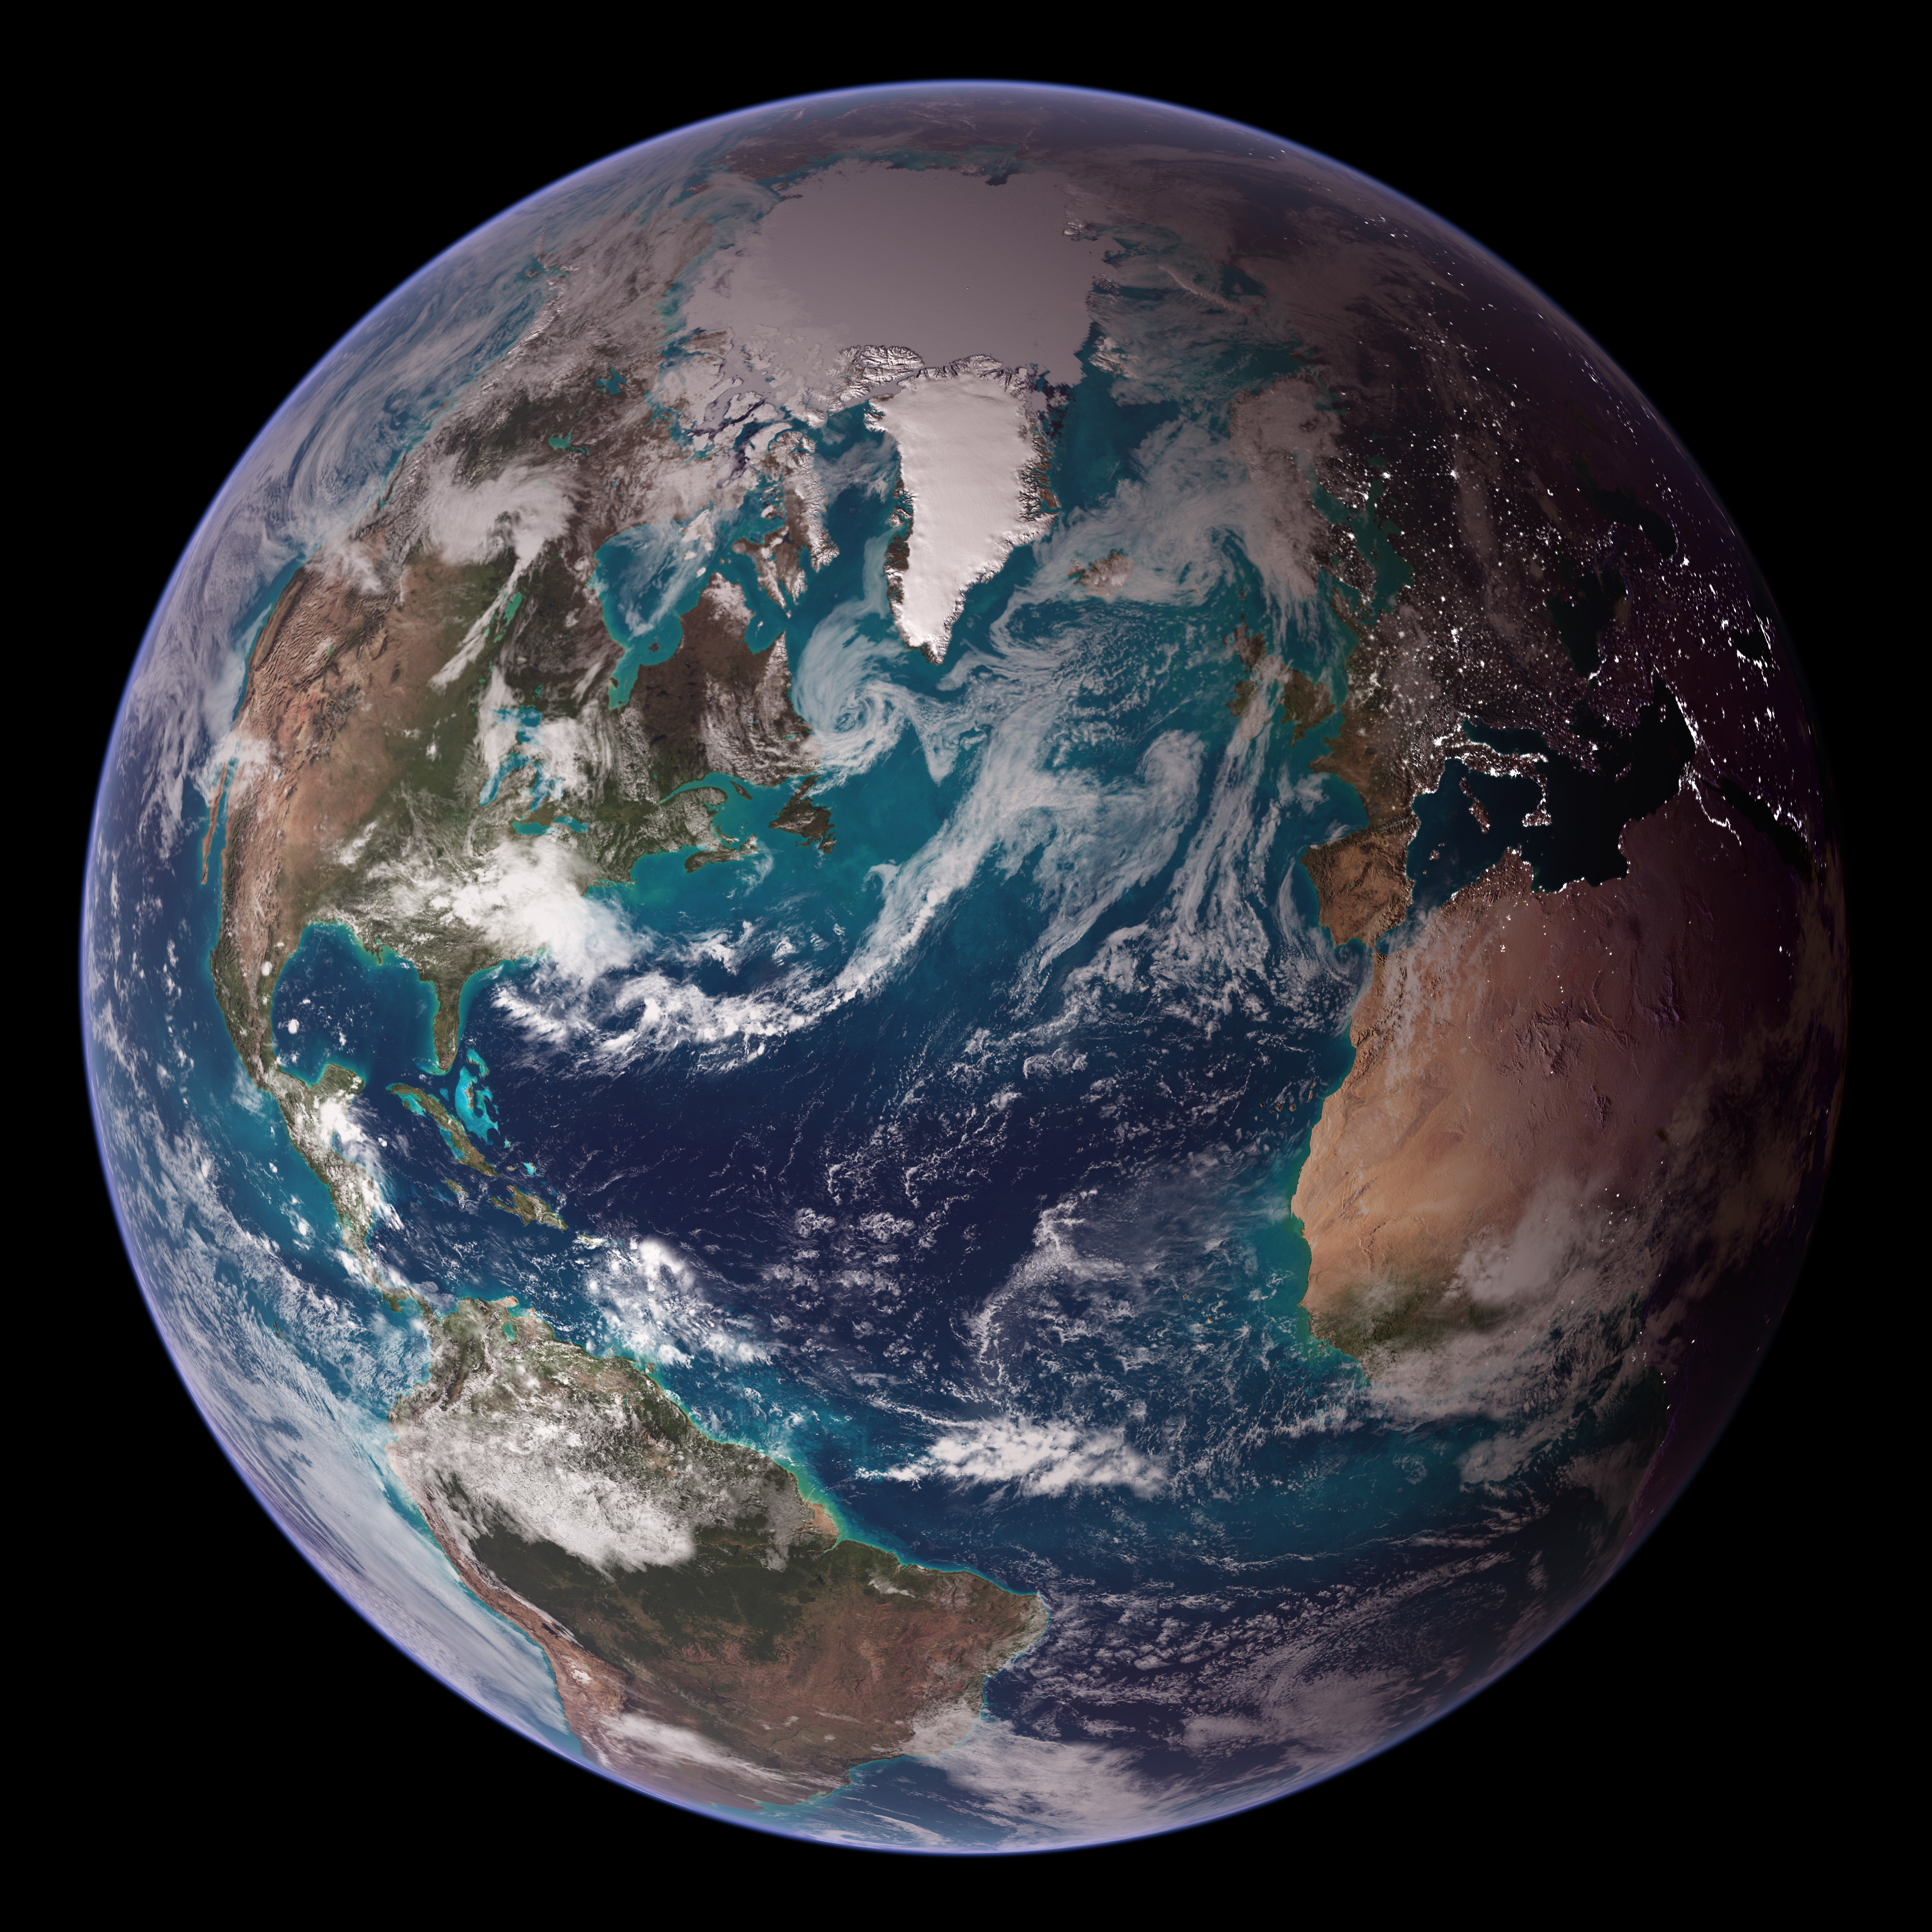
 This image is described on this NASA web page: https://earthobservatory.nasa.gov/images/8108/twin-blue-marbles - however, OpenRefine needs the full image URL at https://eoimages.gsfc.nasa.gov/images/imagerecords/8000/8108/ipcc_bluemarble_west_lrg.jpg to be able to upload this.

The file name[edit]
You should also have a column that contains the file name that your files will have on Wikimedia Commons. Example: for this file, the file name is Johann Adam Klein - Cossacks Eat a Meal in the Field (1819), Thorvaldsens Museum E721,6.jpg
- You should not add the
File:prefix in OpenRefine. - But you must add the file extension, e.g.
.jpg,.ogg,.pdf - Create longer, descriptive file names; this helps to make your files more attractive and discoverable / findable. See Commons:File naming for some guidelines.
- Important: keep the characters (letters, numbers, punctuation) in your file name as straightforward as possible. See the Language, character set and extension tips. OpenRefine and/or Wikimedia Commons may refuse to upload files that have "exotic" characters.
- File names must be unique (i.e. not exist on Wikimedia Commons yet, and not be duplicates of other file names in your project).
The structured data: make sure to follow Wikimedia Commons data modeling conventions![edit]
Don't invent your own method to describe files, but make sure to follow Wikimedia Commons best practices. In case of doubt, ask the Wikimedia Commons community for feedback on the general Structured Data talk page.
Data models for structured data about media files on Commons are explained and discussed at Commons:Structured data/Modeling.
Basic structured data statements for all Wikimedia Commons files are:
| Structured data to add | Brief instructions | In-depth instructions info about the data model in structured data |
|---|---|---|
| File caption(s) (multilingual) | A (short) textual description of the file, in at least one language. Plain text; no Wiki markup or hyperlinks. | Data modeling guidelines: File captions |
| Date | Usually the date when the file was created; using a inception (P571) statement. | Data modeling guidelines: Date |
| Source of the file | Information about where the file was taken from. Is it the uploader's own work, was it uploaded from an external website,...? Typically using a source of file (P7482) statement. | Data modeling guidelines: Source of the file |
| Creator | Who created the file? Typically described with a creator (P170) statement. | Data modeling guidelines: Creator of the file |
| Copyright status and license | Is the file still under copyright, or is it public domain? If still under copyright, which license(s) applies/apply? Using copyright status (P6216) and copyright license (P275). | Data modeling guidelines: Copyright and licenses |
- In many cases it makes sense to add one or more depicts (P180) statements. See Data modeling guidelines: Depiction
- If the file shows an artwork, the statements main subject (P921) and digital representation of (P6243) are also commonly used. See Data modeling guidelines: Visual artworks
Wikitext[edit]
It is mandatory to include wikitext in your files. If you don't include this in a sufficient way, your files may be speedily deleted.
Make sure the wikitext of your files contains at least:
- An infobox template. This shows the basic metadata of the file. In the wikitext source it appears under a
== {{int:filedesc}} ==header - A license template. This shows the copyright and license information of the file. In the wikitext source it appears under a
=={{int:license-header}}==header - At least one Commons category
Use simple (minimal) wikitext![edit]
This approach is not mandatory. You can also create intricate and detailed custom wikitext inside OpenRefine yourself. However, working with minimal wikitext is highly recommended for the following reasons:
- It helps to promote simple, shared data modeling practices applied across Wikimedia Commons. This makes querying and internal and external re-use of Commons files and their metadata much more attractive.
- The information displayed about your files will be automatically multilingual.
- And it's way easier to do inside upload tools like OpenRefine!
To make wikitext inside OpenRefine as straightforward as possible, and to avoid data duplication (data drift) between wikitext and structured data, it is strongly advised to use simple wikitext which will automatically pull and display multilingual data from the structured data of your file.
Increasingly, many infobox templates on Wikimedia Commons are becoming (partly or even fully) Lua-powered, which means that you can keep the Wikitext really simple. The contents of the templates on the file page will be auto-filled from structured data and linked Wikidata items. This is the case for the following popular templates (see examples below):
{{Information}}{{Artwork}}{{Art photo}}{{Book}}
It is unfortunately (as of early 2024) not yet fully possible for {{Photograph}}, {{Specimen}}, {{Map}} , and others. Look at examples for inspiration!
In order for such minimal wikitext to work correctly, the structured data of your files must be modeled correctly, according to the general data modeling guidelines.
To test if it works well, it is highly recommended to do a small test upload (e.g. one starred file from your batch) to tweak and preview what the file will look like.
Examples of simple (minimal) wikitext[edit]
 Wikitext for a simple photo (e.g. of a person or a building) (example) This template will be auto-filled with structured data if you have at least provided:
|
 Wikitext for a 2D scan/photo of a 2D artwork (example) This template will be auto-filled with structured data if you have at least provided: Link to the artwork’s Wikidata item using depicts (P180), digital representation of (P6243), and main subject (P921) (yes, all these three statements.) |
=={{int:filedesc}}==
{{Information}}

=={{int:license-header}}==
{{self|CC-BY-SA-4.0}} <!-- make sure to adjust to the correct license template, even if you also provide copyright and license info in the structured data–->

[[Category:Your category 1]]
[[Category:Your category 2]]
|
== {{int:filedesc}} ==
{{Artwork}}

=={{int:license-header}}==
{{PD-Art|PD-old-auto-expired|deathyear=1884}} <!-- make sure to adjust to the correct license template, even if you also provide copyright and license info in the structured data–->

[[Category:Your category 1]]
[[Category:Your category 2]]
|
_-_Delft.jpg) Wikitext for a photograph of a three-dimensional artwork, e.g. a sculpture (example) This template will be auto-filled with structured data if you have at least provided:
|
 Wikitext for a scanned book (example) This template will be auto-filled with structured data if you have at least provided: Link to the book’s Wikidata item using depicts (P180), digital representation of (P6243), and main subject (P921) (yes, all these three statements.) |
== {{int:filedesc}} ==
{{Art photo}}

== {{int:license-header}} ==
{{PD-self}} <!-- make sure to adjust to the correct license template, even if you also provide copyright and license info in the structured data–->

[[Category:Your category 1]]
[[Category:Your category 2]]
|
=={{int:filedesc}}==
{{Book}}

=={{int:license-header}}==
{{Licensed-PD-Art|PD-old-auto-expired|cc-by-4.0|deathyear=1933}} <!-- make sure to adjust to the correct license template, even if you also provide copyright and license info in the structured data–->

[[Category:Your category 1]]
[[Category:Your category 2]]
|
Readying the data in an OpenRefine project[edit]
Now that you know which data you need, and you have probably prepared it in a spreadsheet, it is ready to start working with it in OpenRefine.
Create an OpenRefine project[edit]
Use this data, or keep it in mind with a checklist, to start an OpenRefine project.
Any method of starting a project is good. You can paste a list or dataset from clipboard, import a csv file or a spreadsheet, or use an XML file or an API.
Prepare and create all the necessary columns[edit]
Your project in OpenRefine needs to have columns with most of the data outlined above. If some of your data is the same for all files, you can also manually add this later in the schema.
- The columns can be in any order that you find convenient.
- Maybe you will start out with more or less columns, and combine, clean and process your data in OpenRefine!
- The columns can have any name. Of course it's recommended to use names that are meaningful to you, as you will use them later during the upload phase and they will need to be understandable to you.
Reconcile relevant structured data columns with Wikidata[edit]
Structured data on Commons describes files on Commons by using (multilingual) items and properties from Wikidata.
Perhaps some of your columns correspond to Wikidata items. You will need to reconcile these, to help OpenRefine understand that it will need to make the link to these Wikidata items. Examples include
- Creators (if they have a Wikidata item)
- Copyright statuses and licenses
- Depicted things, artworks, places, species, people…
You will reconcile these columns against the Wikidata reconciliation service, in English or another language that may be relevant (English usually works fine). The English Wikidata reconciliation service is installed by default in OpenRefine.
📘 OpenRefine's user manual has detailed instructions on how to reconcile data. There is also a dedicated tutorial on Wikidata.
Reconcile the file name column with Wikimedia Commons, indicating to create new items[edit]
⚠️ This step may not feel intuitive, but it is needed to tell OpenRefine that it has to create (upload) new files on Wikimedia Commons for you.
.png)
When you have created a column with filenames (as you want them to appear on Wikimedia Commons), do the following:
- Start the reconciliation process by selecting
Reconcile>Start reconciling…in the column menu. SelectWikimedia Commons (en). - Then click
Start reconciling…(you can ignore all the messages in the dialog you see, just click this button) - The reconciliation will result in a list of not-recognized filenames (because they don’t exist on Wikimedia Commons yet). That is good!
- Next, in the column menu of your file name column, select
Reconcile>Actions>Create a new item for each cell.
The video demo below also describes a slightly easier approach - where you need to be absolutely certain that your file names are unique, and hence have not been used on Wikimedia Commons before.
Your result should look a bit like in the screenshot on the right. The filename column has been reconciled with Wikimedia Commons. We have indicated that OpenRefine needs to create a new item for each file name. You can see that this has been successful because there is a bright green line under the column name (a lighter green than the line shown in reconciled columns), and each cell in that column has a light grey ‘new’ label.
This looks great!
Not seeing the Wikimedia Commons reconciliation service? Then first add the Wikimedia Commons Wikibase manifest to OpenRefine[edit]
ℹ️ If you have installed the Wikimedia Commons extension in OpenRefine, this step is not needed. The extension will have installed this manifest for you.
Are you not seeing the Wikimedia Commons option in OpenRefine's reconciliation services? Then you still need to add the Wikimedia Commons manifest to OpenRefine (basically: a kind of settings file with core information about Wikimedia Commons which informs OpenRefine how to edit and add data there). The Advanced tips and tricks page contains instructions on how to do this.
Prepare the upload in the OpenRefine schema[edit]

Now is the time to prepare your edits / uploads to Wikimedia Commons. In this step, you are going to build a schema which structures the data for upload to Wikimedia Commons. See the screenshot on the right for an example.
Click on the Schema tab in the blue bar above your dataset, or go to the Wikidata/Wikibase extension menu and select Edit Wikibase schema. You will get an empty schema window at first.
Click on the blue + add media link. Several fields will appear.
You can now type, and/or drag and drop all the info you want in the files.
- In the main field (which says
Type entity or drag reconciled column here), you will drag your reconciled (marked as new) column of file names (see previous instructions above). Note: that column must have a light green line (as a result of the reconciliation). - File path: drag this (local file path or URL) column here
- File name: here, again, you will drag the column with the file names as you want them to appear on Wikimedia Commons
- Wikitext: drag your column with wikitext here.
- Captions: if you have created columns with captions, then you can drag them here. Make sure to add the corresponding language.
- Statements: click
+ add statementto add structured data statements, one by one.
Make sure you have included all these, and double check that you comply with the data modeling instructions mentioned earlier.
ℹ️ You can use, load, share and re-use favorite schemas. There are also a few pre-set schemas for Wikimedia Commons editing and uploading. This functionality is explained in the Advanced tips and tricks page.
Log in and upload your files[edit]
In the Wikibase extension menu, select Upload edits to Wikibase… and log in with your Wikimedia Commons username. OpenRefine will encourage you to use a bot password, but this is not necessary and you can ignore this warning. Provide a descriptive edit summary. No need to change the maxlag value.
Important! Make sure to first test an upload with just one, or a small number of, files, so that you can investigate these and fix mistakes before doing a large batch.
Click Upload edits and your upload will start.
📘 OpenRefine's manual contains detailed information on uploading to Wikibases (including Wikimedia Commons).
You should be able to find your uploaded files in the Commons category that collects all OpenRefine uploads, and in your own edit/upload history on Wikimedia Commons.
Correcting mistakes with the EditGroups tool[edit]
When checking your user contributions, you will see your recent Wikimedia Commons edits done with OpenRefine. Each OpenRefine edit displays a (details) hyperlink after the edit summary, which links to the edit batch in the EditGroups tool.
In EditGroups, entire batches of edits to existing files can be easily undone, in case some mistakes have been made.
⚠️ It is not possible to delete uploaded files with EditGroups. Only Wikimedia Commons administrators can do this. Consult Commons:Deletion requests to learn about the procedure to have files deleted.
All Wikimedia Commons batches with OpenRefine are listed at https://editgroups-commons.toolforge.org/?tool=OR.
-
 OpenRefine batches listed in the EditGroups tool
 -
 One OpenRefine batch upload in the EditGroups tool


,_Thorvaldsens_Museum_E721,6.jpg)